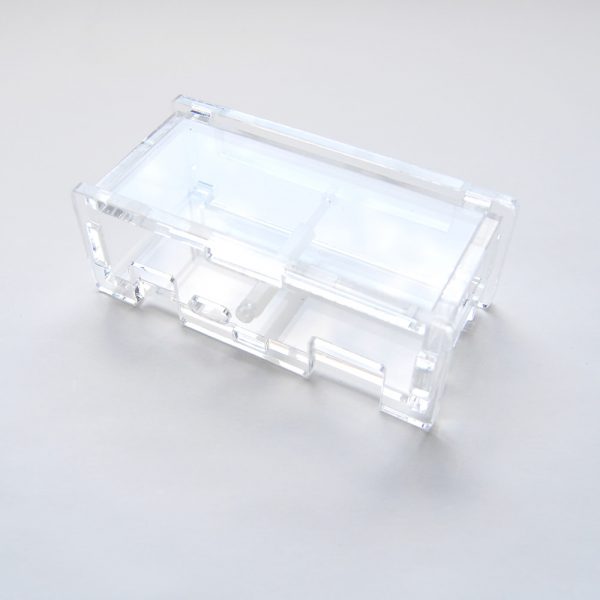
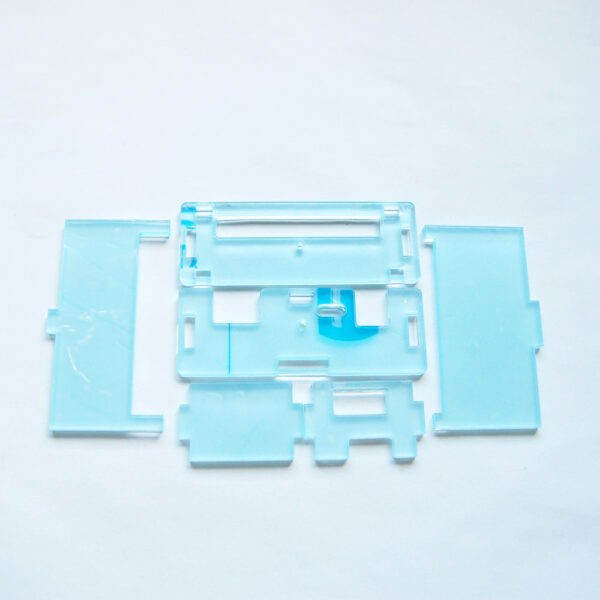
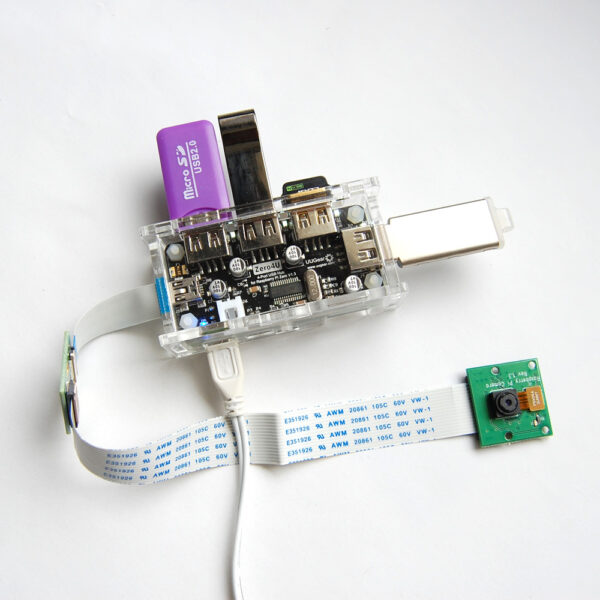
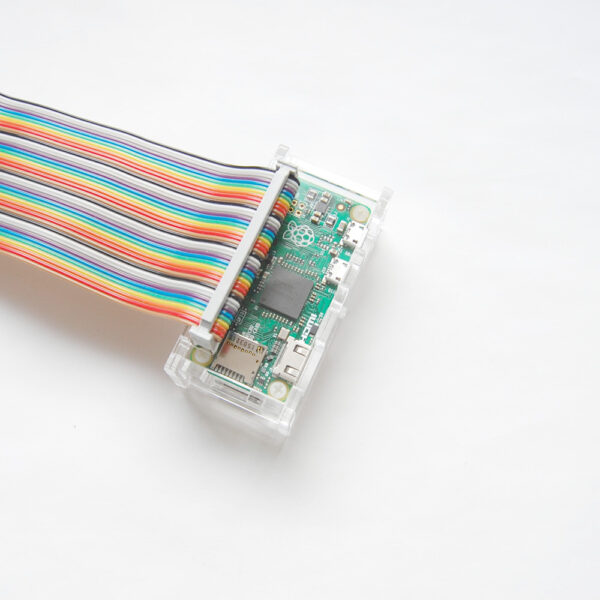
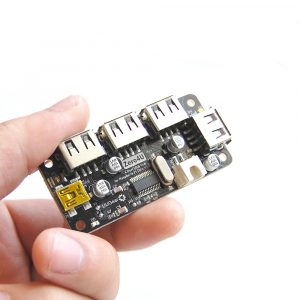
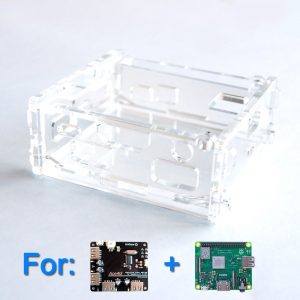
This acrylic case is built with 6 pieces of clear acrylic sheets, one plastic M2 standoff and 2 plastic M2 screws. It can hold your Raspberry Pi Zero (V1.2 or V1.3) and Zero4U (4-port USB hub for Zero) together. The acrylic sheets are 3mm thick and the case can protect your Raspberry Pi Zero and Zero4U very well.
There is a window for GPIO header, so you can still access all GPIO pins.
Package Content
- Acrylic Sheets x 6
- Plastic Screw M2 6mm x 1
- Plastic Screw M2 15mm x 1
- Plastic Standoff M2 20mm x 1
Remarks: newer version may come with two M2 12mm plastic screws, instead of one short and one long screws.
Step by Step Assembly Guide
There are six acrylic plates in the package. Each acrylic plate has protective membrane on both surfaces, and you will need to remove the membrane before going to the next step.
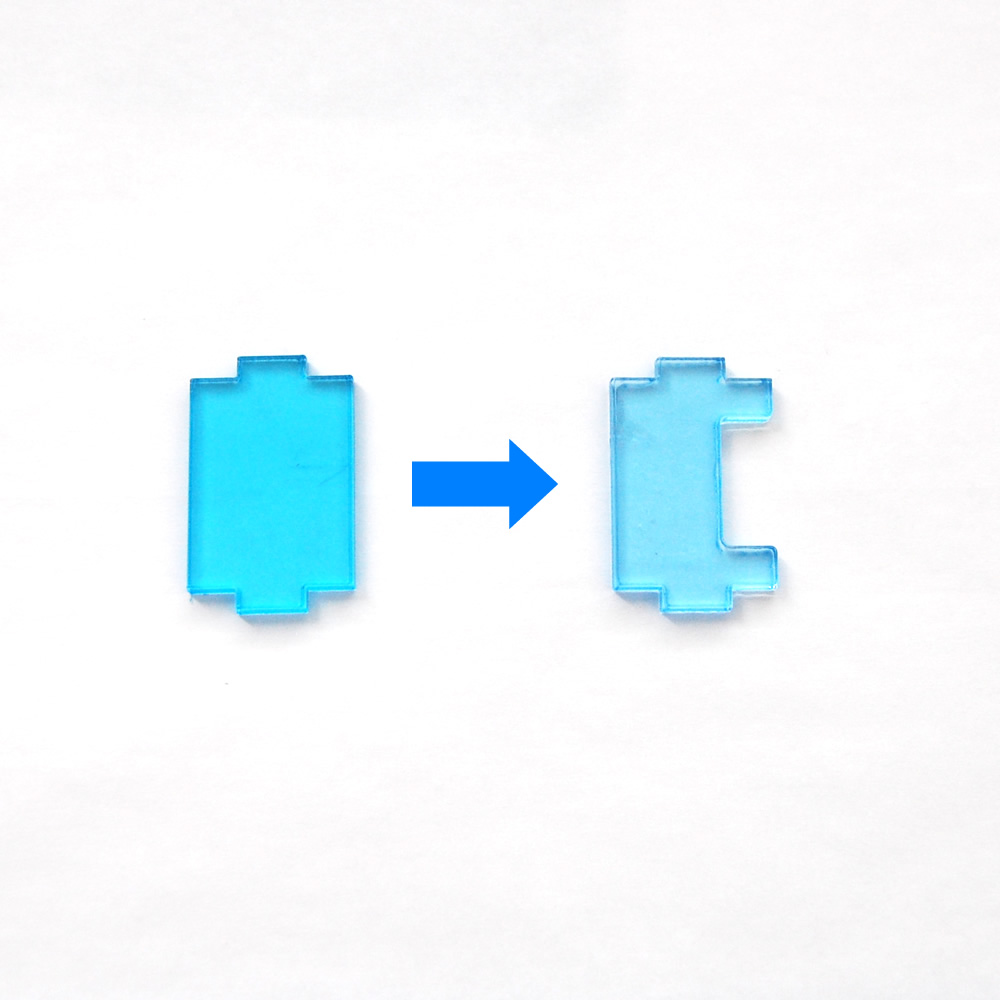
Please notice that we replaced one plate later to have the window opened for camera connector on Raspberry Pi Zero V1.3:
Use tweezers or fingernails to peel off the membrane on both sides carefully, then you will see the smooth surfaces.
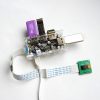
Before continuing, please mount Zero4U on your Raspberry Pi Zero, back-to-back and then fix the four corners with the plastic screws, spacers and nuts in Zero4U’s package.
Remarks: newer version may come with two M2 12mm plastic screws, instead of one short and one long screws.
Now we can start from the piece that shown in the figure below. Place the short screw at the bottom, let it go though the small rounded hole and then fix the plastic standoff. Make sure to mount the standoff at the correct surface, the rounded window should be on its right, as shown in the figure.
For newer version that comes with two 12mm plastic screws, any one of them could be used as the “short” screw, just don’t tighten it too much at this step.
Now we put the acrylic sheet on the side of Raspberry Pi Zero, which has two micro USB ports. The plastic standoff should go though the space between Zero4U and Raspberry Pi Zero.
Place it up side down, and put the 4 pieces around your Raspberry Pi Zero and Zero4U. Please pay attention to the sheet that has window for SD card, and make sure it gets placed in correct direction, or the SD card slot could be covered by mistake.
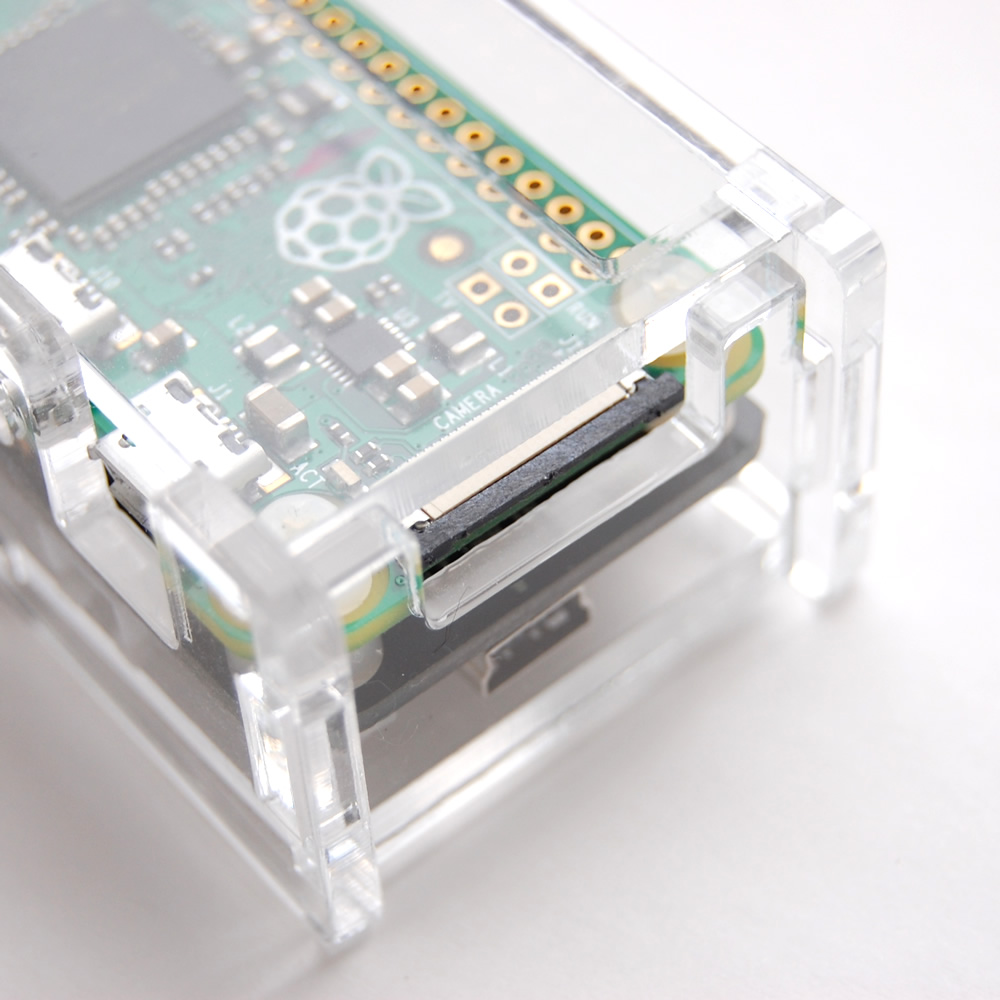
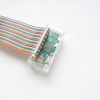
Also pay attention to the other side, for Raspberry Pi Zero V1.3 there is a camera connector, which should be placed in the window:
Put on the last piece and place the long screw into the small hole. Once it aligns with the plastic standoff between Zero and Zero4U, use your screw driver to tighten it.
For newer version that comes with two 12mm plastic screws, any one of them could be used as the “long” screw. If fully tightening it still doesn’t secure the assembly, you can tighten the screw on the other side, which was used as the “short” screw.
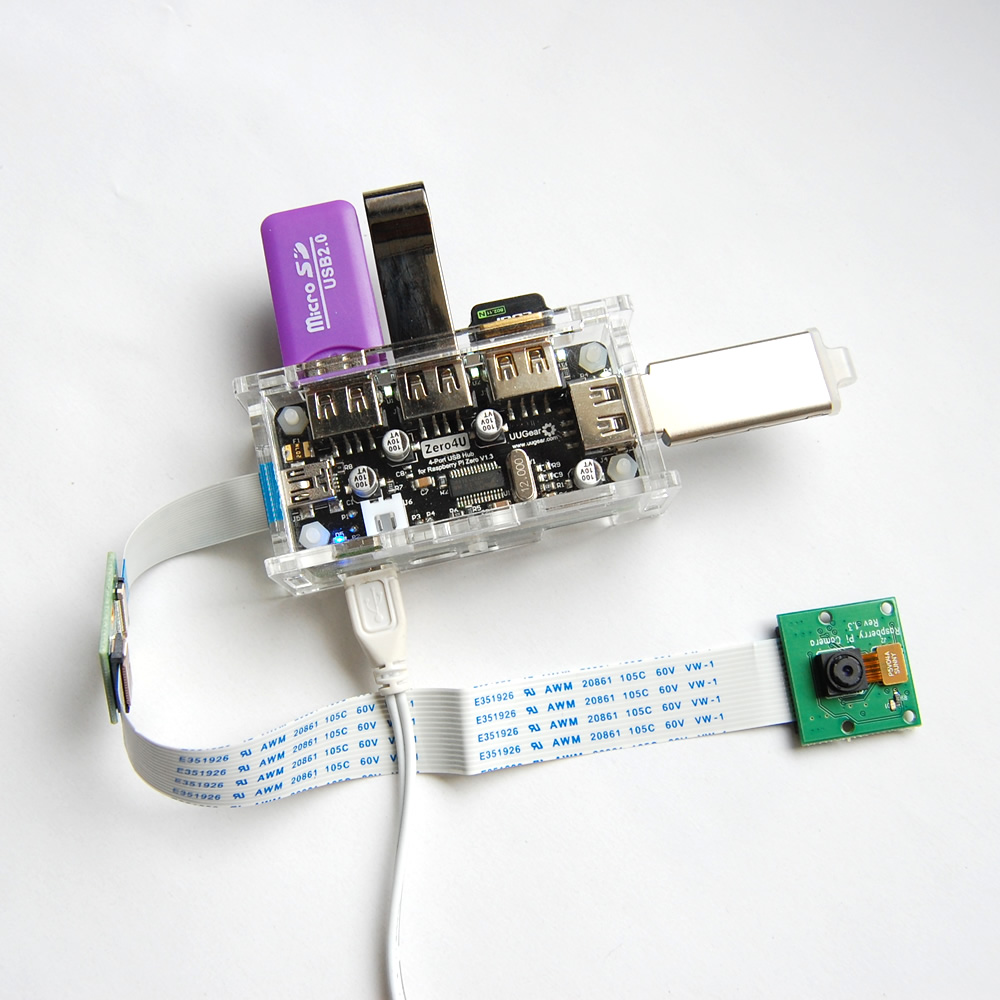
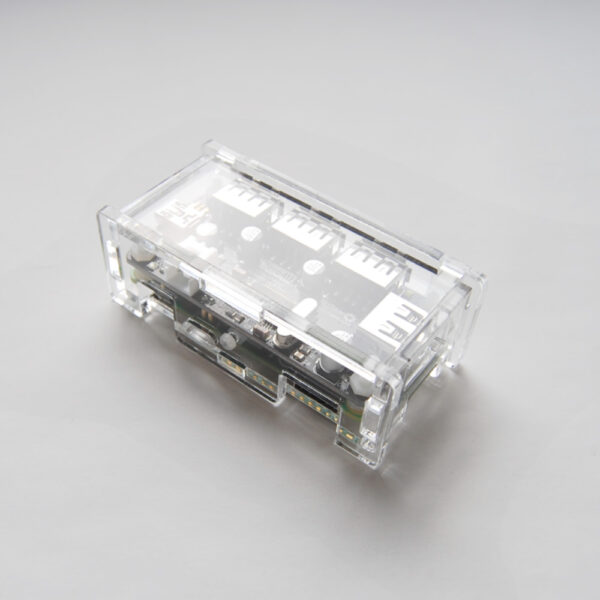
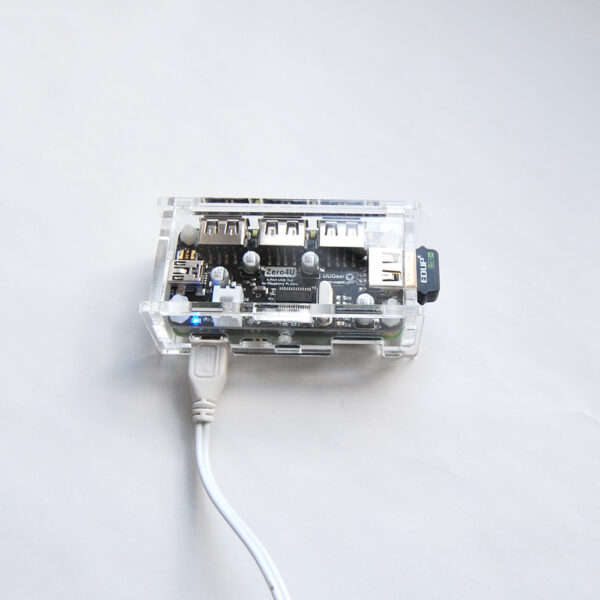
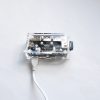
All done! Here is how it will look like:
You can connect the power supply to the micro USB port, and it is ready to rock.
Update on 2017.03.20:
Update on 2019.03.18:
We changed the two screws to two M2 12mm plastic screws.







plawrence –
I was going to submit a mixed review of this case. I have three of these now and in my first order there were issues assembling the case. The edged of the parts were not completely square so the case didn’t really go together that well. Also they thickness of the acryllic made putting the case together very tight, on some of the joints it caused stress crack in the acryllic. But n my second order everything was fine, the case went together without any problems. The only difference I could note between the two orders is that the one that I had issues with had a paper backing on all of the parts, the two that were OK had a clear/blue vinyl backing. Anyway apart from that the cases are great, exactly what is required to enclose the PiZero and Zero4U.
Vince –
Can’t give this one 5-stars – case is tough to assemble, and several ports are covered up as a result (alternate 5V in and upstream USB ports). Case is very thick, so it is extremely difficult to swap SD cards out. Plastic screws for holding case together were stripped (one side) and not-threaded (other side) but I managed. CPU is covered up, so a heatsink wouldn’t be possible, and the cpu runs warmer than I’d hoped as a result of no airflow. That said, it seems to be as advertised. Looks very nice when assembled. Delivery from CZ to US was very smooth, excellent service.
admin –
Hi Vince, the mini USB port should be covered, as you could not connect Zero4U to PC while it is connected to Pi Zero at the same time. That equals to connect one USB hub to two computers, which should never happen.
Jozef –
hmm… covering alternate 5v source is really shame :-/
Charles –
The case went together well enough – one tiny stress fracture because I didn’t notice that BOTH sides have plastic covers on them. I had already peeled off the pale blue side. The clear side was almost invisible until I looked at why it appeared “smudged” and tried to clean it off with a cloth. I disassembled the case, removed all the clear covers off the pieces, and everything went together smoothly.
Two things to fix, in my opinion – first, the cover causes the PiZero to run warm – cut a hole in the top of the top piece for a heat sink, and maybe include that in the kit. Second – I have a fully populated Pi – ALL the pins are soldered in. The top piece does not have space for the last 4 pins to come through – the two analog TV pins and the two run pins. This makes the case less than ideal for all use cases, and would only require a slightly different hole cut in the top piece near one end of the GPIO pin-out cut. If you are going to redesign the top piece to allow for a heat sink, I’d also add the cutout for the other 4 pins. I understand WHY you covered the mini-usb port to prevent people connecting to two systems, but you also covered up the 2-pin white power port as well. Restricting our possibilities by your design is not a good thing. All in all, though, I’m mostly satisfied with my purchase. If you redesign at least the top cover for a heat sink and the last four pins, I’d be interested in purchasing more. Thanks!
Alan –
This case does exactly what’s needed – that is to protect the Pi and Zero4U from damage etc. The Pi does run rather warm, but by placing it on a firm surface on one of it’s shorter edges, the hot air can rise away from the cpu, and the temperature reduces – slightly.
Daniel –
NIce little case, perfect for a Pi Zero with the Zero4U hub. I definitely recommend this case!
seBASTARD –
A bit tricky to assemble, but it does the job. I was a bit worried about heating issues but i didn’t overclock my Pi Zeros so that didn’t seem to be a problem.